[ad_1]
# How Lighting Can Make or Break Your Food Photography
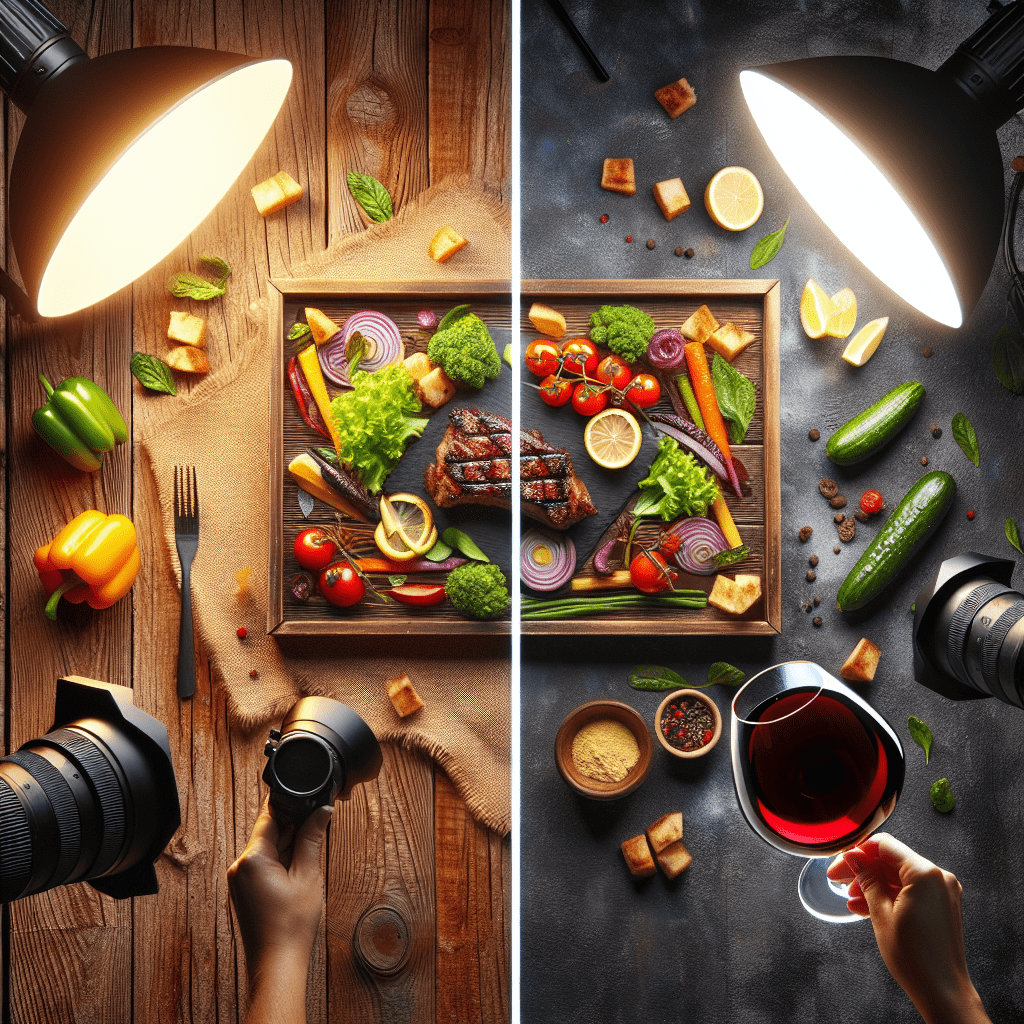
Good lighting isn’t just a key element of photography; it’s the heartbeat of any photograph, especially in the culinary world. Whether you’re a professional food photographer, a budding blogger, or simply an enthusiastic foodie sharing your meals on social media, understanding the impact of lighting on your images is crucial. In the realm of food photography, lighting does more than merely illuminate your subject; it sets the mood, emphasizes textures, and can even shape the appetite of your audience. This article delves into how lighting influences food photography and offers insights and tips on using light to elevate your culinary shots.
## The Role of Lighting in Food Photography
### 1. **Creating Ambiance**
Lighting dictates the mood of your food photography. Soft, natural light often evokes a fresh, clean feeling, perfect for healthy recipes or daytime dining settings. Conversely, dimmer, warmer lights can suggest a cozy, intimate atmosphere, ideal for shots of comfort food or evening eateries. The ambiance created by your chosen lighting setup can significantly impact how the audience perceives the dish being presented.
### 2. **Highlighting Texture**
One of the main challenges in food photography is conveying texture through a two-dimensional image. Proper lighting can exaggerate or soften textures, making a crust crunchier, a syrup glossier, and a crust crumblier. Side lighting, for instance, is particularly effective in accentuating the textures of your food, giving your photos a compelling depth that can tantalize taste buds even through a screen.
### 3. **Color Accuracy**
Lighting affects color perception significantly. The wrong type of light can skew colors, making fresh greens look dull or cooked meats less appetizing. Utilizing a light source with a high Color Rendering Index (CRI) ensures that the colors in your photographs are vibrant and true to life, faithfully representing the food’s real hues.
## Tips for Mastering Food Photography Lighting
### 1. **Embrace Natural Light**
Whenever possible, opt for natural light. It’s universally flattering and can be manipulated easily with reflectors or diffusers (like sheer curtains) to achieve the desired effect. The best natural light for food photography is indirect daylight – think light coming from a north-facing window.
### 2. **Understand the Direction of Light**
The direction from which light hits your food can completely transform the shot. Front lighting can flatten details, while back lighting can create drama but might also silhouette your subject. Side lighting is most food photographers’ go-to direction as it beautifully highlights the textures and contrasts of food.
### 3. **Experiment with Artificial Light**
When natural light isn’t available, artificial light sources like LED panels, ring lights, or even specialized photography lights can be invaluable. The key is to know how to manipulate these sources to mimic natural light – softening harsh lights with modifiers or using bounce cards to fill in shadows.
### 4. **Play with Shadows**
Shadows can add depth and dimension to your food photography, giving the viewer a sense of volume and space. While too many shadows can obscure details and make your dish look uninvitable, carefully controlled shadows can enhance the shape and textures of your food, making it more dynamic and enticing.
## FAQs
**Q: Can I use my smartphone for food photography?**
A: Absolutely. Modern smartphones have excellent cameras capable of taking stunning food photographs, especially if you pay attention to lighting. Using natural light and understanding its principles is even more crucial when using a smartphone camera due to its smaller sensor size.
**Q: What if I only have harsh, direct sunlight available?**
A: If you find yourself in a situation with only direct sunlight, use a diffuser to soften the light. This can be a professional photography diffuser or a simple DIY solution like a translucent white curtain or even a piece of white paper.
**Q: How many light sources do I need for food photography?**
A: Start with one main light source to simulate natural light. If you find the shadows too harsh, add a reflector or a secondary, softer light source on the opposite side to fill in the shadows. This is often enough for most food photography needs.
**Q: What color temperature is best for food photography?**
A: The color temperature should mimic daylight as closely as possible, which is around 5000 to 6000 K. This range is flattering to most foods and helps in achieving color accuracy in your shots.
**Q: Is post-processing necessary in food photography?**
A: While capturing the best possible image in-camera should always be the goal, post-processing can be a powerful tool in fine-tuning your images. Adjustments like color correction, brightness, and contrast enhancements can help make your food photos pop.
In summary, lighting in food photography is a pivotal element that can significantly influence the final outcome of your images. By understanding and mastering the use of light, you’re not just taking pictures of food; you’re crafting appetizing experiences that appeal to the senses beyond just taste. Armed with the knowledge of how to effectively use lighting, every dish you photograph has the potential to be a visual feast as much as a culinary one.
[ad_2]

Leave a Reply