[ad_1]
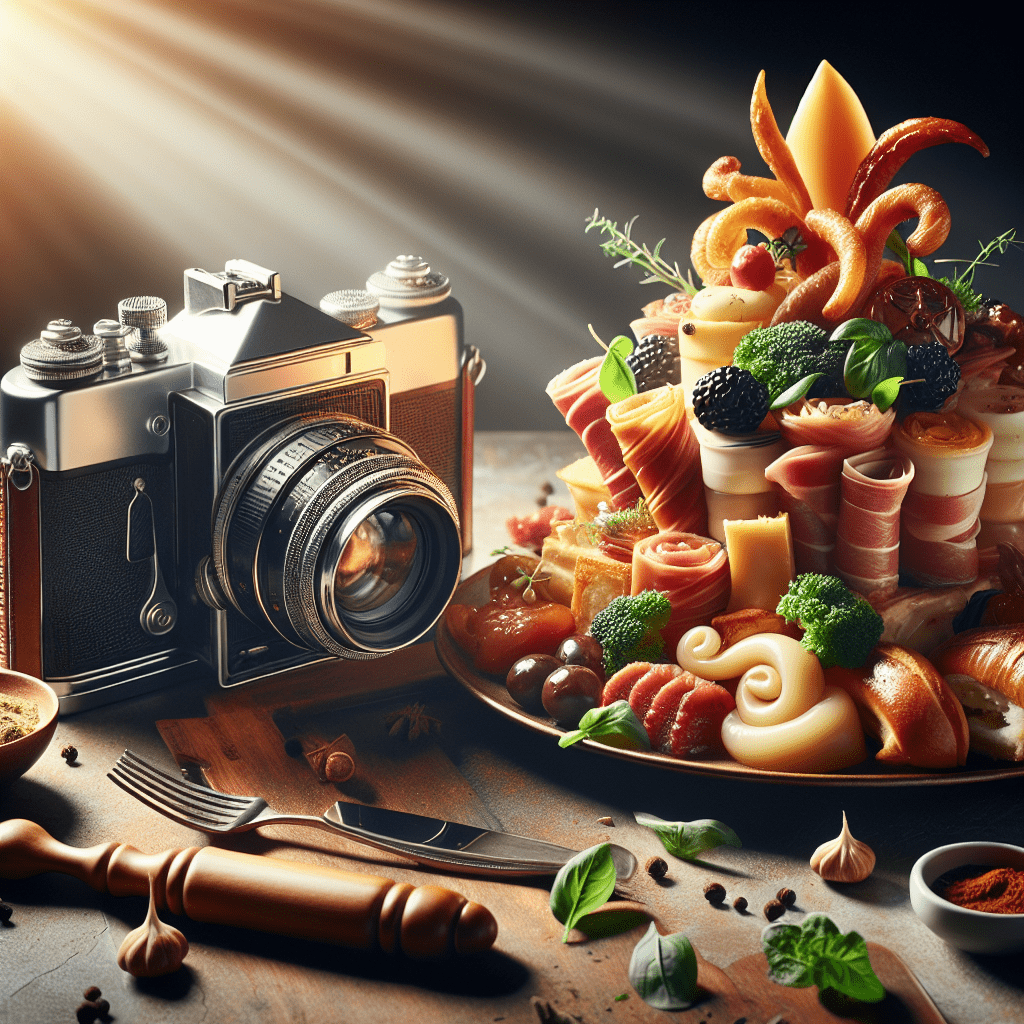
Capturing the perfect food photograph is an art form that requires more than just a camera and food. It’s about telling a story, evoking emotions, and making the viewer’s mouth water. This guide will explore the essential techniques and secrets behind successful food photography, ensuring that you capture the true essence of deliciousness in every shot.
The Right Equipment
Having the right equipment is the first step towards creating stunning food photographs. While professional DSLR cameras yield high-quality images, don’t underestimate the power of smartphones with advanced camera features. Key equipment includes:
- Camera: DSLR or mirrorless cameras are preferred, but smartphones can also capture great images.
- Lenses: A macro lens is ideal for close-up shots, while a standard lens works well for general food photography.
- Tripod: Essential for stabilizing your camera, especially in low light conditions.
- Remote Shutter: Helps in avoiding any camera shake when taking shots.
- Reflectors and Diffusers: Useful for manipulating light and reducing harsh shadows.
Lighting is Key
Lighting can make or break a food photograph. Natural light is generally preferred as it beautifully highlights the textures and colors of food. Position your setup near a window and use reflectors to soften any harsh shadows. If using artificial light, opt for soft, diffused lighting to mimic natural light.
Styling and Composition
The arrangement and presentation of food play a crucial role in food photography. Use props and backgrounds that complement the food without distracting from it. Pay attention to color contrasts, textures, and the rule of thirds to create visually appealing compositions.
Focus on the Details
Details matter in food photography. Fresh ingredients, garnishes, and even the smallest sprinkle of seasoning can add life and appeal to your photos. Use a shallow depth of field to bring attention to these details, blurring out the background to maintain focus on the subject.
Post-Processing
Edit your photos to enhance the colors, adjust exposure, and refine the details. Tools like Adobe Lightroom and Photoshop are invaluable for food photographers. Remember, the goal is to enhance the photo’s natural appeal, not alter it beyond recognition.
Key Takeaways
- Invest in the right photography equipment to enhance the quality of your food photos.
- Utilize natural light whenever possible for the most flattering food images.
- Focus on styling and composition to create engaging and appealing photos.
- Pay attention to the details in your shot, from the ingredients you use to the props that accompany them.
- Post-process your photos to bring out the best in them without overdoing it.
Frequently Asked Questions (FAQs)
Can I take good food photos with my smartphone?
Absolutely! Many smartphones now have advanced camera features that can capture stunning food photographs. Make sure to use good lighting and composition techniques to get the best results.
Do I need a professional camera for food photography?
While a professional camera can offer more flexibility and higher quality images, it’s not a necessity for beautiful food photography. Understanding lighting, composition, and styling is more crucial.
How can I improve my food styling?
Practice is key. Experiment with different props, backgrounds, and arrangements to find what works best. Study food magazines and blogs for inspiration and don’t be afraid to try new things.
What’s the best lighting for food photography?
Natural light is ideal for food photography because it closely resembles how we see food naturally. If natural light isn’t available, soft, diffused artificial light is a good alternative.
How important is post-processing in food photography?
Post-processing is a critical step in food photography. It allows photographers to fine-tune colors, adjust brightness and contrast, and crop the image for the perfect composition. However, the aim should always be to keep the photo looking natural and appetizing.
[ad_2]

Leave a Reply