[ad_1]
**Artisan Baking Techniques: Tips and Tricks for Handcrafted Breads**
Artisan bread, with its crusty exterior, soft interior, and rich flavors, embodies the soul of traditional baking. Unlike commercial bread, artisan bread emphasizes the craftsmanship of the baker, where each loaf is uniquely crafted with care and precision. This article explores various artisan baking techniques, shedding light on how you can create mouthwatering handcrafted breads from the comfort of your own kitchen.
### **Understanding Artisan Baking**
Artisan baking is more than just a process; it’s an art form. It often involves using natural ingredients, traditional techniques, and a slow fermentation process to enhance flavors. This method not only respects the craft of baking but also prioritizes quality over quantity, resulting in bread that is both delicious and nutritionally rich.
### **Key Techniques for Artisan Bread**
1. **Choosing the Right Ingredients**
Quality begins with the right ingredients. Opt for unbleached, organic flour if possible, as it tends to produce better results. The type of flour is crucial too; for instance, strong bread flour is ideal for sourdough because of its higher protein content, which helps in gluten development.
2. **Hydration Matters**
Artisan breads often have a high hydration level, meaning more water is used in the dough. This contributes to the chewy texture and beautiful holes characteristic of artisan bread. Start with a hydration level of 60-70% and adjust based on the flour’s absorption abilities and your desired dough consistency.
3. **Slow Fermentation**
One of the trademarks of artisan baking is slow fermentation, typically achieved through the use of a pre-ferment like a starter or poolish, or by extending the bulk fermentation period. This slower process allows the dough to develop a deeper flavor and improves the bread’s texture.
4. **The Importance of Autolyse**
This step, which involves mixing flour and water and allowing them to rest before adding yeast and salt, is crucial for hydration and gluten development. It makes for a dough that’s easier to shape and develops better flavors and structure.
5. **Kneading and Folding**
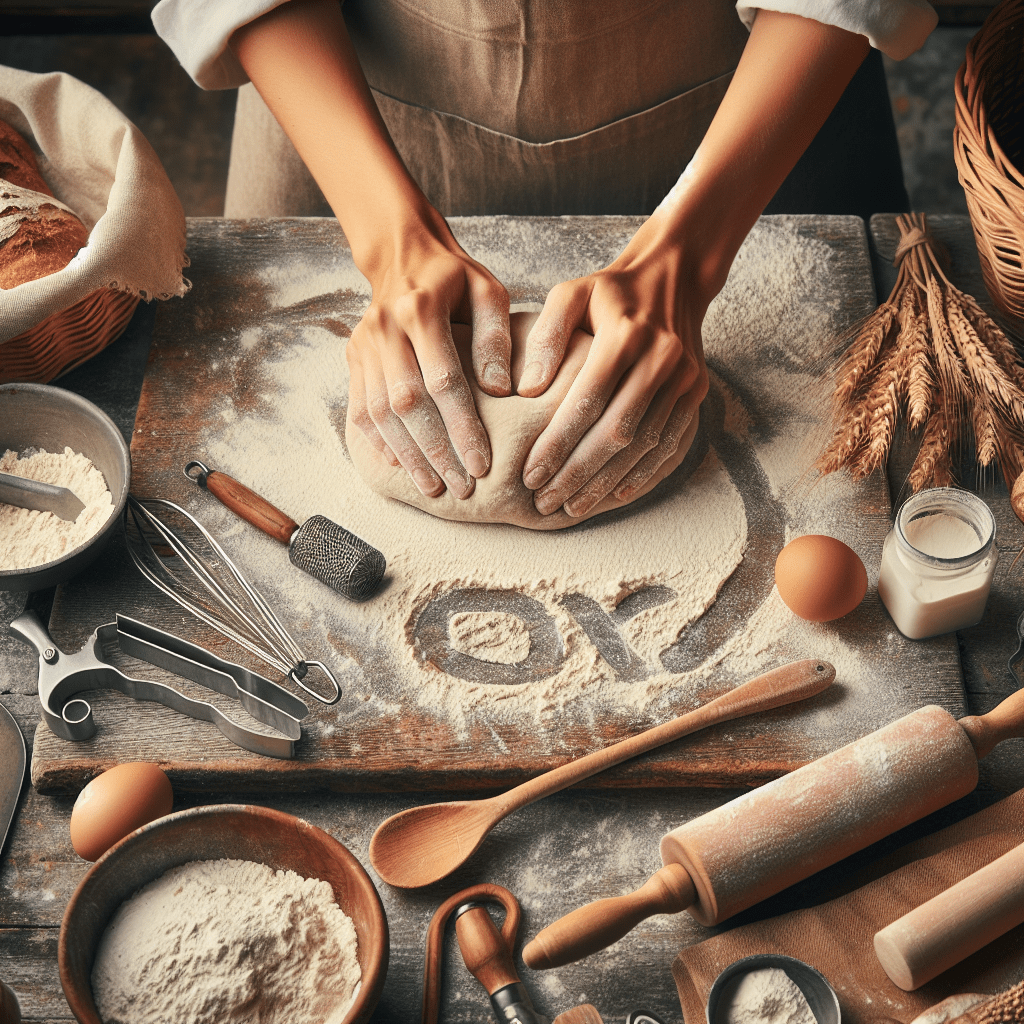
Kneading is essential for developing gluten, which gives bread its structure. However, in high hydration doughs, a series of folds can be more effective. This technique involves gently stretching and folding the dough over itself at intervals during the bulk fermentation, aiding in gluten development without overworking the dough.
6. **Shape with Care**
Shaping is not just about aesthetics but also impacts the final rise and crumb structure. Techniques vary based on the type of bread but handling the dough gently is key to maintaining gas bubbles for a good rise.
7. **Scoring the Dough**
Before baking, artisan loaves are often scored with a sharp blade. This controlled slash guides the bread during the oven spring, allowing it to expand without tearing.
8. **Creating Steam**
Artisan bread thrives in a moist environment during the initial phase of baking. Introducing steam to your oven can replicate the conditions of a professional bread oven, leading to a shiny, crackly crust.
9. **Understanding Oven Spring**
The initial burst of heat causes the dough to expand rapidly, resulting in the ‘oven spring’. For best results, bake at high temperatures during the first part of the baking process and then reduce it if necessary.
10. **Cooling**
Resist the temptation to cut into your bread fresh out of the oven. Cooling is a vital part of the baking process, allowing the crumb to set and flavors to develop fully.
### **Frequently Asked Questions (FAQs)**
**What is the best flour for artisan bread?**
The best flour is typically a high-protein (around 12-14%) bread flour. Whole grain flours can also be used for added flavor and nutrition, either on their own or blended with white flour.
**Can I use a stand mixer for kneading artisan dough?**
Yes, a stand mixer with a dough hook attachment can be used for kneading, but be careful not to over-knead, as artisan doughs benefit from a more gentle touch.
**How long should I ferment my dough?**
This depends on various factors, including temperature, hydration level, and the type of pre-ferment used. For sourdough, a bulk fermentation of 4-12 hours (or more, if refrigerated) is common, but it’s best to go by the dough’s appearance and feel rather than strict timing.
**Why is my crust soft, not crusty?**
A soft crust typically results from insufficient steam during the initial phase of baking or slicing the bread before it has fully cooled. Ensure you’re creating enough steam in your oven and allow your loaf to cool for at least an hour before cutting.
**How do I know when my bread is fully baked?**
Artisan breads are done when they register an internal temperature of 190-210°F (88-99°C) depending on the dough type. The crust should be deeply colored, and the loaf will sound hollow when tapped on the bottom.
**Can I make artisan bread without a dutch oven?**
Yes, while a dutch oven is excellent for creating steam and even baking, you can achieve similar results by placing a tray of water at the bottom of your oven to generate steam or using a baking stone with a bowl cover to trap moisture.
Artisan bread-making is a fulfilling endeavor that welcomes bakers of all levels to explore the richness of handcrafted bread. By understanding and embracing the techniques outlined above, you’re not just baking bread; you’re partaking in an age-old tradition of creating something truly remarkable from simple ingredients. With patience, practice, and passion, artisan baking can transform the ordinary act of making bread into an art form celebrated with every slice.
Happy Baking!
[ad_2]

Leave a Reply