[ad_1]
### DIY Artisanal Cheese Making at Home: A Step-by-Step Guide
The art of cheese making has been practiced for thousands of years, offering an array of flavors, textures, and nutritional benefits. Today, this ancient craft is experiencing a renaissance as food enthusiasts embrace the joy of making cheese at home. DIY artisanal cheese making not only allows for customization but also instills a sense of accomplishment and connection to tradition. In this guide, we will walk you through the basic steps to start your cheese-making journey, along with tips for success and a FAQs section to help clarify common queries.
#### Getting Started: Understanding the Basics
Before diving into the world of cheese making, it’s essential to grasp the fundamental process, which involves curdling milk using an acid (like lemon juice or vinegar) or enzymes (such as rennet), then draining the whey and pressing the curds into your desired shape and texture. The variation in processes, aging times, and ingredients leads to the diverse world of cheeses we have today.
#### Step-by-Step Guide to Making Your First Cheese
##### Ingredients and Equipment:
– **Milk:** Fresh, high-quality milk is crucial. For beginners, pasteurized milk is a safe choice, but avoid ultra-pasteurized as it won’t curdle well.
– **Curdling Agent:** Rennet (animal or vegetable) or an acidic ingredient like lemon juice.
– **Cultures:** These bacteria are essential for flavor development, especially in aged cheeses. Start with pre-packaged cultures designed for home use.
– **Salt:** Enhances flavor and acts as a preservative.
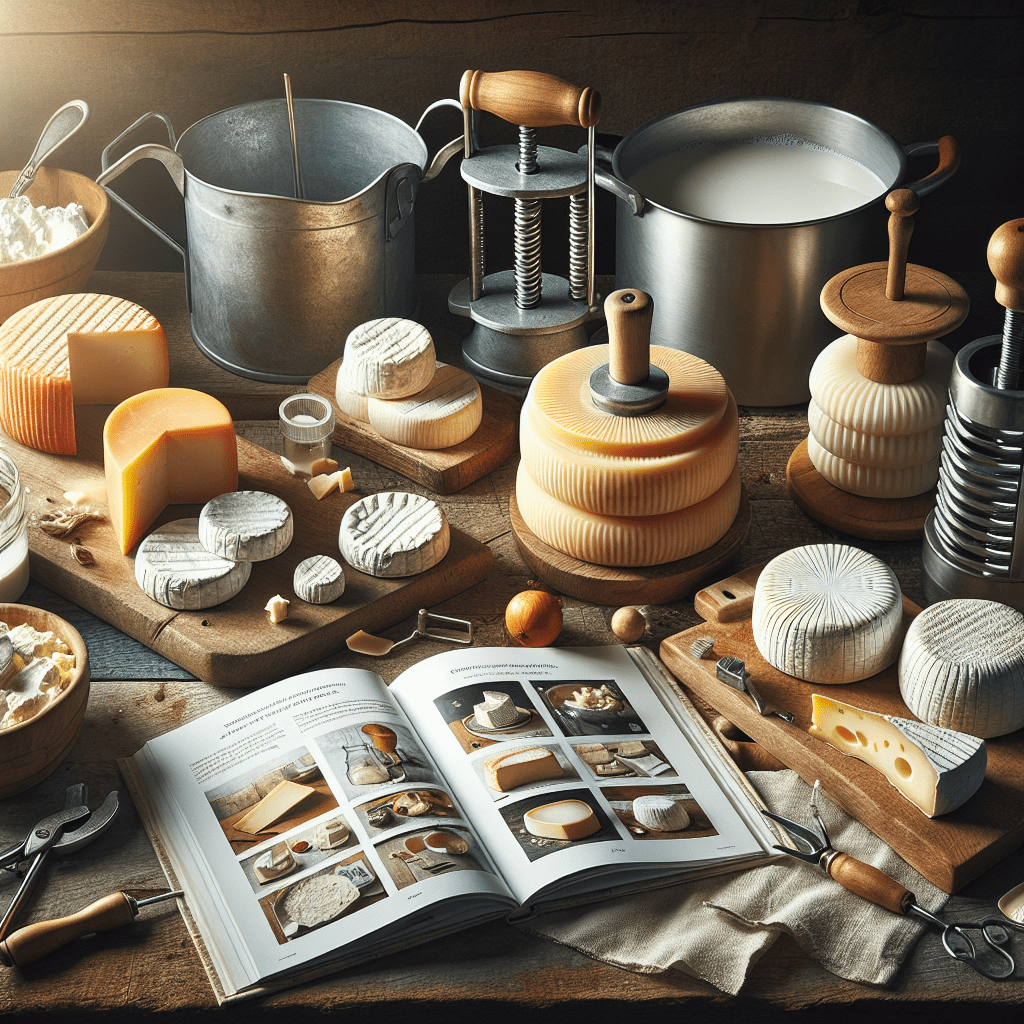
– **Equipment:** A large stainless-steel pot, thermometer, cheesecloth, colander, and cheese press.
##### Step 1: Preparing the Milk
Begin by slowly heating your milk in the pot to the temperature recommended for your cheese type (usually around 86°F to 90°F for soft cheeses). Stir gently to ensure even heating.
##### Step 2: Adding the Culture and Rennet
Once the milk reaches the target temperature, add the starter culture, stirring gently. After about 5 minutes, add the rennet dissolved in a small amount of cool, boiled water. Stir for another 30 seconds, then let the milk sit undisturbed for about an hour or until a solid curd forms.
##### Step 3: Cutting the Curds and Cooking
Cut the curd into uniform cubes using a knife or a curd cutter to help expel the whey. Then, gently heat the curds to the recommended temperature for your cheese, stirring slowly and constantly.
##### Step 4: Draining the Whey
Once cooked, pour the curds into a cheesecloth-lined colander to drain off the whey. The amount of whey you drain will influence the cheese’s texture.
##### Step 5: Pressing and Shaping
Transfer the drained curds into a cheese mold and press according to the instructions for your cheese type. Pressing removes more whey and helps shape the cheese.
##### Step 6: Aging
Some cheeses can be eaten fresh, while others need to age in a cool, humid environment. Aging develops the flavor and texture characteristic of each cheese type.
### Tips for Successful Cheese Making
– **Cleanliness is Key:** Ensure all equipment is thoroughly sterilized to prevent unwanted bacteria from affecting your cheese.
– **Temperature Control:** Maintaining the correct temperature is vital for successful curdling and curd processing.
– **Patience:** Cheese making is a slow process, especially when it comes to aging. Patience will yield delicious results.
### FAQ Section
**Q1: Can I make cheese at home without special equipment?**
A: Yes, basic cheese like fresh ricotta or paneer can be made with minimal equipment, like a pot, thermometer, cheesecloth, and colander.
**Q2: Is it necessary to use raw milk?**
A: No, while raw milk is traditional, pasteurized milk is safer for beginners, provided it’s not ultra-pasteurized.
**Q3: How long does homemade cheese last?**
A: Storage life varies. Fresh cheeses should be consumed within days, while aged cheeses can last for months under proper conditions.
**Q4: Can I use lemon juice or vinegar instead of rennet?**
A: Yes, for some cheeses, like ricotta or paneer, acidic ingredients can be used to curdle the milk. However, rennet is required for most aged cheeses.
**Q5: Why didn’t my milk curdle?**
A: There are several reasons, including the milk being ultra-pasteurized, incorrect temperature, or old or improperly measured rennet/culture.
**Q6: Can I flavor my cheese?**
A: Absolutely! Common additions include herbs, spices, garlic, or even edible flowers. Add these towards the end of the curd processing or sprinkle on the cheese before aging.
DIY cheese making is a rewarding culinary venture that connects us to our heritage and the fundamental joys of crafting food from scratch. With practice, you’ll refine your skills and expand your repertoire, enjoying the rich world of homemade cheeses. Start simple, stay patient, and let your creativity flourish. Happy cheese making!
[ad_2]

Leave a Reply