[ad_1]
Introduction
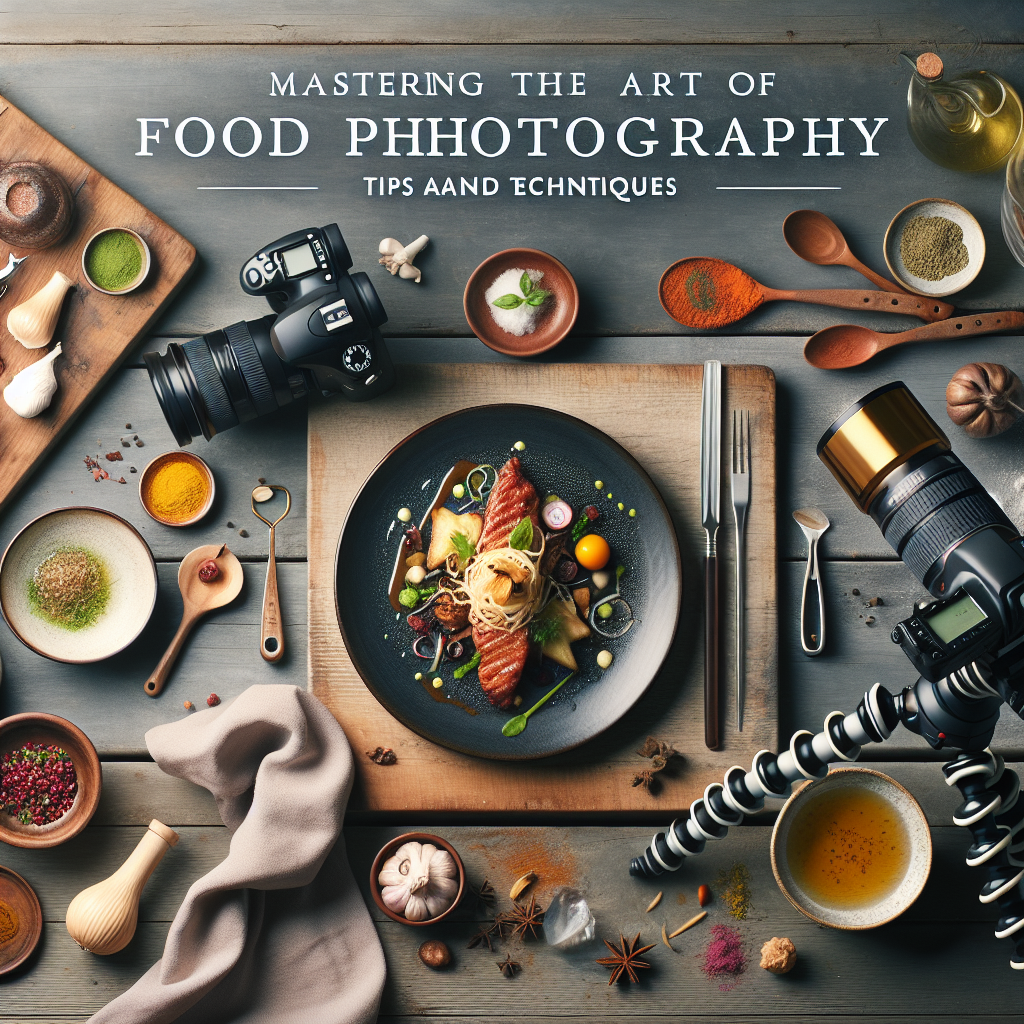
Food photography has become a popular genre in recent years, thanks to the rise of social media platforms like Instagram and Pinterest. Whether you’re a budding food blogger, a professional chef looking to showcase your creations, or simply someone who loves documenting their culinary adventures, mastering the art of food photography can elevate your images to a whole new level. In this article, we will explore some tips and techniques to help you capture mouth-watering food photos that will have your viewers drooling.
1. Lighting
One of the most important factors in food photography is lighting. Natural light is typically the best option for capturing food in its most appealing state. Try to shoot near a window or outdoors on an overcast day to avoid harsh shadows and highlights. If natural light is not available, consider using artificial lighting such as softboxes or a ring light to create a soft, even illumination.
Experiment with different angles and directions of light to find the most flattering lighting for your subject. Remember that the quality of light can make or break your food photos, so take the time to perfect your lighting setup before you start shooting.
2. Composition
Composition plays a crucial role in food photography, as it can help to draw the viewer’s eye to the most important elements of the dish. Consider using the rule of thirds to create a visually appealing composition and to add balance to your images. Place your subject off-center and use negative space to create a sense of balance and harmony in your photos.
Experiment with different angles, perspectives, and props to create depth and interest in your images. Don’t be afraid to get up close and personal with your subject to capture all the delicious details and textures of the food. Remember that simplicity is key in food photography, so try to keep your compositions clean and uncluttered to let the food shine.
3. Styling
Food styling is an art form in itself, and it can make a huge difference in the overall look and feel of your photos. When styling your food, consider the colors, textures, and shapes of the ingredients to create a visually appealing composition. Use props like utensils, napkins, and fresh herbs to add interest and context to your images.
Pay attention to the angle and height of the camera to create a sense of depth and dimension in your photos. Experiment with different plating techniques, garnishes, and serving dishes to showcase the food in the most flattering way. Remember that the goal is to make the food look as appetizing as possible, so take the time to style each dish with care and attention to detail.
4. Camera Settings
Choosing the right camera settings is essential in food photography to capture sharp, well-exposed images. Use a wide aperture (low f-stop) to create a shallow depth of field and to blur the background, making the food stand out in the image. Experiment with different apertures to find the perfect balance between sharpness and bokeh.
Consider using a tripod to stabilize the camera and prevent camera shake, especially when shooting in low light conditions. Adjust the ISO, shutter speed, and white balance to achieve the desired look and mood of your photos. Remember to shoot in RAW format to capture more details and to have greater flexibility in post-processing.
5. Editing
Post-processing is an essential step in food photography to enhance the colors, contrast, and sharpness of your images. Use editing software like Adobe Lightroom or Photoshop to adjust the exposure, white balance, and saturation of your photos. Experiment with different presets and filters to create a unique style and aesthetic for your images.
Pay attention to the highlights and shadows in your photos to avoid overexposure or underexposure. Use the sharpening tool to enhance the details and textures of the food. Remember that less is often more when it comes to editing, so try to keep the adjustments subtle and natural-looking.
FAQs
1. What equipment do I need for food photography?
While a professional camera and lens can help to elevate your food photos, you don’t necessarily need expensive equipment to get started. A camera phone with a good quality camera, natural light, and some basic styling props can be enough to capture stunning food images. However, if you’re serious about food photography, consider investing in a DSLR or mirrorless camera, a macro lens, a tripod, and lighting equipment to take your photos to the next level.
2. How can I make my food photos stand out on social media?
To make your food photos stand out on social media, focus on creating eye-catching compositions, styling your dishes with care, and editing your images to enhance their visual appeal. Experiment with different angles, perspectives, and lighting to create a unique and engaging look for your photos. Use hashtags and geotags to reach a wider audience and engage with your followers by responding to comments and messages.
3. How can I improve my food styling skills?
Improving your food styling skills takes practice, patience, and a keen eye for detail. Start by studying food magazines, cookbooks, and food blogs to get inspiration and ideas for styling your dishes. Experiment with different plating techniques, garnishes, and props to create visually appealing compositions. Take the time to arrange the food in an attractive and appetizing way, paying attention to colors, textures, and shapes.
Conclusion
Mastering the art of food photography takes time, practice, and creativity. By following the tips and techniques outlined in this article, you can capture mouth-watering food photos that will leave your viewers craving for more. Experiment with lighting, composition, styling, camera settings, and editing to create stunning images that showcase the beauty and deliciousness of the food. Remember to have fun, be creative, and let your passion for food shine through in your photography. Happy shooting!
[ad_2]
Leave a Reply